
Basic Striking: Elbow Strikes
When it comes to striking in combat sports, there are a variety of strikes that a fighter can have in their arsenal. Punches, kicks, elbows, knees are the most commonly used strikes due to their effectiveness. This article will examine elbow strikes.
Elbow strikes are a very dangerous tool for a fighter to have in their striking repertoire. Elbows can do a significant amount of damage in a fight, as they are a heavy hitting blunt force weapon that can also cause major cuts to the face and head of an opponent. If these cuts are bad enough (meaning an opponent is losing a lot of blood or the open wound is fairly large), the referee may step in and stop the fight.
Before throwing elbows, you may want to use one arm as a range finder. Measure the distance between you and your target to figure out how far you will need to travel to land this strike with power. Plan your footwork and timing accordingly.
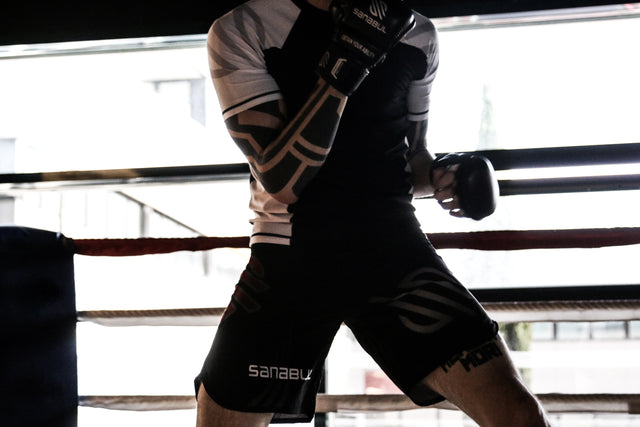
NOTE: Elbows should be practiced (1) on pads, (2) on the heavy bag, or (3) when shadowboxing. Elbows should NOT be practiced during sparring… UNLESS they are thrown in a controlled manner. These are powerful strikes that can do a lot of damage, so keep this in mind and take care of your training partners.
When sparring with elbows, Muay Thai fighters choose to land with their forearm instead of the actual elbow. This simulates the motion of an elbow strike, without causing the damage of one.
Horizontal Elbow
To throw a horizontal elbow, you will lift your elbow so the blade of the forearm on the striking side is parallel with the ground and about the same height level as your shoulder.
From here, quickly push your elbow forward, directly into your target. You should be following a similar motion to throwing a hook punch, this time you will not connect with your fist, you will connect with your elbow.
Vertical (Up) Elbow
To throw a vertical elbow, position your arm so that the blade of your forearm is somewhat vertical to the ground. The easiest way to do this is by keeping your elbow close to your chest and resting your hand on your temple.
Based on your opponent’s defense and distance, you may have to adjust the positioning of your elbow and how perpendicular it lies in relation to the ground.
A good indicator you are in a good position to throw this elbow is if the point of your elbow on the striking arm is pointing at the ground.
Swing your elbow upward and slightly outward (depending on the range), into your opponent.
Think of the following motion: pushing a baseball cap off of your head so that it falls to the ground behind you.
Diagonal Elbow (Slashing Elbow)
To throw a diagonal elbow, lift your elbow so the blade of the forearm on the striking side forms a 45 degree angle with the ground. Raise the arm so that the elbow is above your shoulder and your hand remains about shoulder level.
Throw your elbow in a downward motion The path of the elbow should be close to one stroke of the letter “X”, depending on the arm you throw the elbow with.
Downward Elbow (Spear/Tomahawk Elbow)
To throw a spear elbow, raise your elbow high - near or above (if your shoulders allow it) your head. Your tricep muscle should be perpendicular and form a 90 degree angle (or as close to it as you can) with the ground.
The higher the elbow is raised, the more powerful the spear elbow will potentially be on impact, but the more time it may take to land.
Find the load that works best for you, balancing the time it will take to land with the power you will be able to generate.
Make sure your target is directly in front of you and aligned with your own centerline
The path of the spear elbow should be down and end inward toward your centerline.
Throw the elbow downward toward your target, aiming to land with either the inside or point of the elbow.
Adjust the path of the elbow, based on the defense your opponent chooses.
This can be done by moving your hand either closer or farther away from your head, when bringing the elbow down to strike.
Things to keep in mind:
The non striking arm/hand should be defending while you throw the strike
The hand can be up by your face, ready to block, deflect, or parry a counter strike.
Since elbows will mainly be thrown when in close contact with your opponent, the non striking arm can gain and maintain hand control of the opponent’s same side hand to prevent any counter attacks during your strike.
The angle and path of the elbow you want to throw will mostly depend on:
How far away your hand, forearm, and elbow are from your body
How high you raise your elbow
How far away your opponent is from you
Just like when you punch, you will want to use your whole body when throwing elbows. Turn your hips, pivot your foot, and shift your weight slightly forward so you have your body and momentum behind your strike.
Remember to keep your chin tucked down when throwing elbows (and strikes as a whole).
Blunt Force Elbows
To land elbows with blunt force, the ending impact should be more of a pushing motion. The elbow is thrown with the intention to be pushed into the opponent, landing with the elbow itself and part of the forearm (or tricep, depending on the type of elbow) near the elbow.
Cutting Elbows
To land elbows with the intention of causing a cut, aim to land with the point of the elbow and throw the strike in a slashing motion. Think of your elbows as a sword and your are trying to cut through your target with the blade. Elbows that cause openings in the skin of opponents are mainly caused by high speed/power and landing with the point of the elbow. Elbows that land with blunt force (push into an opponent) can cause cuts if they effectively connect with the point of the elbow.
All of these elbows can be done with BOTH the lead and rear arms because the mechanics behind these strikes are basically the same.
The techniques of each elbow will need to be adjusted based on the distance and defense of your opponent, but the mechanics remain constant.
To cover more distance when throwing elbows, fighters may choose to hop forward with their lead foot and then proceed to throw the elbow. This gives the resulting elbow more forward momentum, which means more power can be generated. This hop is not always necessary, as there are times where a simple step toward the target with the lead foot will work instead of a small hop.
When to use
Elbows are an incredibly dangerous strike to use against opponents at close range. They can be used at medium to far ranges too, as a step/hop may be used to quickly close distance and then deliver an elbow. These strikes are great for weakening an opponent’s guard and breaking their defensive shell open. Once one or both of these possibilities occur, elbows to the head can now 1) cut an opponent open with a slicing motion or 2) batter them with a powerful blunt force strike.
Attached are some articles and videos that we think may further explain these techniques:
How to throw elbows (Horizontal, vertical, diagonal, spear elbow):
https://evolve-mma.com/blog/the-6-muay-thai-elbows-you-need-to-know-videos/
Horizontal elbows from the clinch:
https://www.youtube.com/watch?v=BuzhyZcfyGw
Elbows from the clinch:
Spear Elbow
https://www.youtube.com/watch?v=P0myRA_s77Y
Thank you for reading - we hope this article explained the fundamentals of throwing some basic elbow strikes!


0 Comments
There are no comments for this article. Be the first one to leave a message!